How to make a progress spinner in WPF
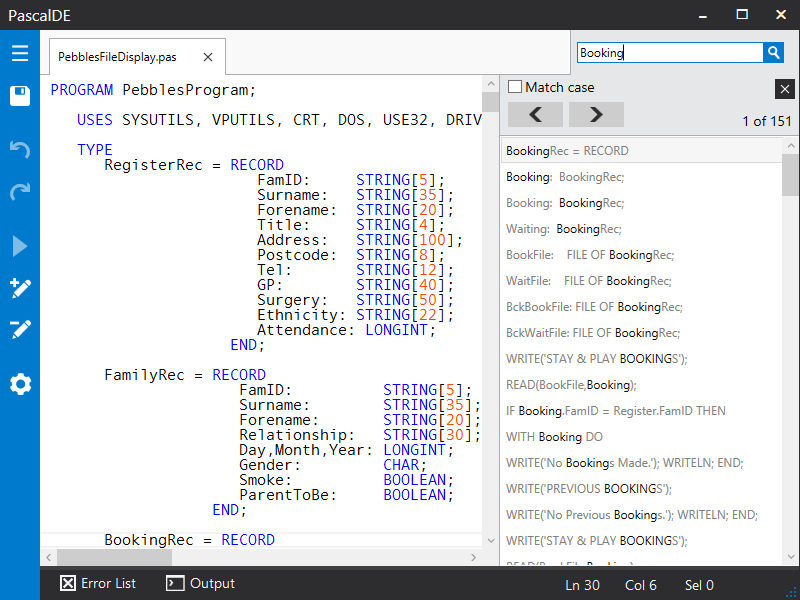
So recently I’ve been working on the search functionality in PascalDE. Unlike most text file searches, which just let you click through ‘Find Next’ to go to each instance of the search term, the search in PascalDE will show you the results in context as a list. This makes it easier to find what you’re looking for. I also found you could search for something like ‘procedure’ and it would give you a list of every procedure in your program with names (useful for quickly navigating your program). I’ve also implemented autocomplete into the search, making it quicker to search for a variable/type or reserved word etc.
One of the issues I found with this approach is the speed of the search. If you’re looking for whole words or phrases it’s very quick, but if you have a large file and you look for a single character, for example, it could return thousands of results and the search might take a while. I decided to implement a progress bar/spinner to show the user the program was working, and keep the UI responsive.
The spinner in the gif above is completely custom. I looked on the internet for pre-existing spinners for WPF but couldn’t find any good ones, and some were very outdated and no longer worked. The spinner I came up with is flexible enough so that it can be any size, any colour, and any thickness. The animation uses a storyboard so there’s no limit to the type of movement it can have too. I thought I’d share it here incase someone else looked on the internet like I did and found nothing that suited what they had in mind.
To create a gradient that circles around the spinner (creating a tail effect) requires some cheating. As WPF doesn’t have a conical/angle colour brush, I had to make one in Photoshop and import it as an image.
This image acts as an opacity mask over a solid colour ellipse. Making the image an opacity mask instead of the spinner itself allows the colour to be controlled inside the code, so it can be changed programmatically.
<Grid Name="LayoutRoot" RenderTransformOrigin="0.5,0.5">
<Grid.RenderTransform>
<TransformGroup>
<RotateTransform x:Name="rotateTransform"/>
</TransformGroup>
</Grid.RenderTransform>
<Ellipse Fill="{DynamicResource SpinnerColorBrush}">
<Ellipse.OpacityMask>
<ImageBrush ImageSource="Assets/SpinnerMask.png" Stretch="None"/>
</Ellipse.OpacityMask>
</Ellipse>
<Grid.OpacityMask>
<RadialGradientBrush>
<GradientStop Color="Black" Offset="0.96"/>
<GradientStop Color="Transparent" Offset="0.959"/>
</RadialGradientBrush>
</Grid.OpacityMask>
</Grid>
This ellipse is inside a grid which also has a mask to create the donut hole in the middle of the spinner. I used a radial gradient brush to do this, making it transparent in the middle and a solid colour outside. Finally, add a ‘RotateTransform’ to the grid, name it, and set the ‘RenderTransformOrigin’ to “0.5,0.5”. This lets you rotate the spinner around its axis using a storyboard.
<Storyboard x:Key="Rotation">
<DoubleAnimation Storyboard.TargetName="rotateTransform"
  Storyboard.TargetProperty="Angle"
  From="0" To="360" Duration="00:00:01"
  RepeatBehavior="Forever"/>
</Storyboard>
You’ll have to create some logic in the code-behind to enable/disable the progress spinner, but that’s basically it. You can change the grid size to change the size of the spinner, the ‘RadialGradientBrush’ offset to change the thickness, and the fill of the ellipse to change the colour. Making the spinner bigger might require a larger image.
There’s probably many other ways to make an indeterminate spinner like this, but I hope someone finds this one helpful.


